

Delicious Homemade Bran Bread Made Easy with Your Bread Maker
Discover the simple and rewarding process of baking soft, airy bran bread at home using your bread maker. This step-by-step guide includes expert tips, ingredient advice, and practical storage suggestions to help you enjoy fresh, wholesome bread every day.
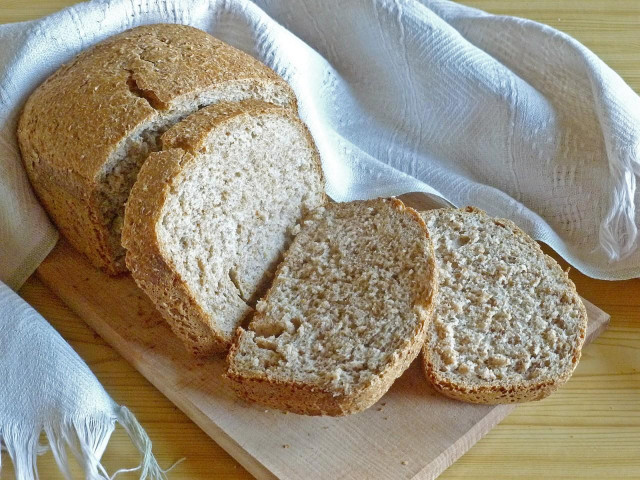
Experience the wholesome goodness of homemade bran bread crafted from wheat flour and natural yeast. This bread isn’t limited to wheat bran alone—you can experiment with various cereal brans. The result is a beautifully risen loaf with a soft, porous texture that disappears quickly from the table.
Step-by-Step Baking Guide
Total preparation time: 3 hours 30 minutes
Step 1:

To start, gather 350 g of wheat flour and 100 g of wheat bran. For this amount of dry ingredients, use 1.5 teaspoons of dry yeast, 2 tablespoons of unrefined sunflower oil, 1 teaspoon of salt, 1 tablespoon of sugar, and 300 ml of water.
Step 2:

Place the paddle inside the bread maker’s baking pan and sprinkle the dry yeast evenly at the bottom. For guidance on selecting the best yeast, refer to the linked article below.
Step 3:

Next, add the wheat flour on top of the yeast. Learn more about flour types and their characteristics in the detailed article provided.
Step 4:

Sprinkle the wheat bran evenly over the flour to enrich the bread with fiber.
Step 5:

Add the salt and sugar, which balance flavor and help yeast activity.
Step 6:

Pour the sunflower oil over the dry ingredients to enhance moisture and texture.
Step 7:

Carefully add the water to the baking pan, ensuring it covers the dry mix without disturbing the layers.
Step 8:

Place the prepared baking pan securely into your bread maker.
Step 9:

Close the bread maker lid and select the whole grain or rye bread program, which typically runs for about 3 hours and 30 minutes. For detailed instructions on your bread maker’s functions, see the linked article at the end.
Step 10:

Once the baking cycle finishes and the machine signals, carefully remove the hot bran bread from the pan and transfer it onto a cooling rack. Allow it to cool completely for the best texture and flavor.
Step 11:

When cooled, slice your bran bread and enjoy. For tips on optimal bread storage to maintain freshness, consult the advice section below.
Discover the latest news and current events in Baking as of 08-06-2024. The article titled " Delicious Homemade Bran Bread Made Easy with Your Bread Maker " provides you with the most relevant and reliable information in the Baking field. Each news piece is thoroughly analyzed to deliver valuable insights to our readers.
The information in " Delicious Homemade Bran Bread Made Easy with Your Bread Maker " helps you make better-informed decisions within the Baking category. Our news articles are continuously updated and adhere to journalistic standards.